How to Draw a Backpack in 2023 – A Step-by-Step Guide

You’re lucky if you’ve ever wanted to learn how to draw a backpack! This step-by-step tutorial guide you through creating a great-looking pack. Whether a beginner or an experienced artist, these instructions are easy to follow. So grab a pencil, a sheet of paper, and let’s get started!
Step 1: Introduction
Drawing a backpack can be a fun and rewarding experience. Whether you want to use it for school-related artwork or enjoy the drawing process, this tutorial will teach you everything you need to know.
Step 2: Understanding Backpacks

Before we dive into drawing, let’s take a moment to understand what a backpack is. Backpacks, also known as knapsacks, rucksacks, or school bags, are versatile bags with two straps that go over the shoulders. They are commonStudents commonly use them and other school supplies, but they are also popular among hikers, travellers, and businesspeople.
Step 3: Getting Started: Tools You’ll Need
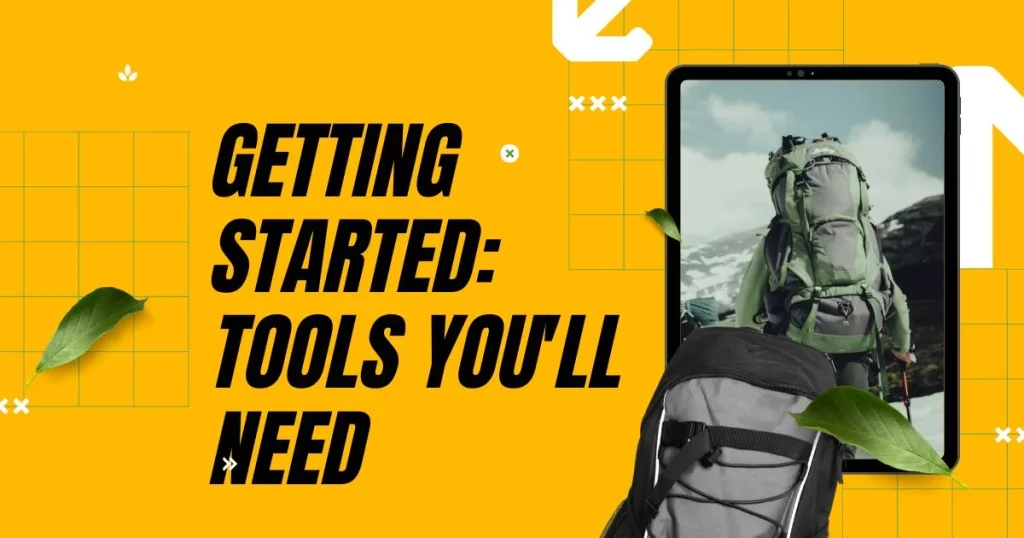
To draw a backpack, you’ll need a few essential tools:
READ MORE: Do I Need a Backpack for Skiing?
Step 4: Drawing the Bottom of the Backpack

Start by drawing a curved line at the bottom of your paper. This line will serve as the base of the backpack.
Step 5: Outlining the Front of the Backpack
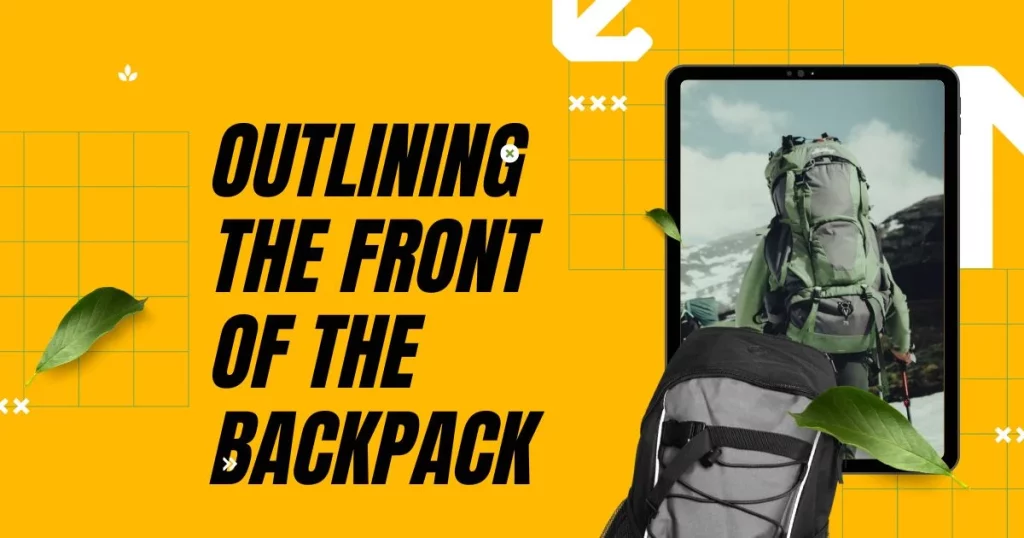
Above the bottom line, draw a long, arching curved line. Connect this line to the corners of the bottom line. This will outline the front of the backpack.
Step 6: Adding Depth and Dimension
Draw another curved line from the top of the backpack to its bottom. This will give the bag a three-dimensional appearance.
Step 7: Detailing and Stitching
Add details and stitching to your backpack. Draw a curved line parallel to the side of the gear. Outline a pocket or pouch on the front using a curved line. This shape should overlap the outline of the bag. Draw a curved line parallel to the side of the pocket, giving it depth. Then, draw a pair of curved lines to connect the pocket to the top of the backpack.
READ MORE: Are Herschel Backpacks Good for Travel?
Step 8: Embellishing the Front Pocket
Embellish the front pocket with a pair of curved, horizontal lines. Draw an irregular rounded shape near the top of the backpack and draw a line across it. Use curved lines to outline the handle on top of the bag.
Step 9: Drawing the Shoulder Straps
Outline the shoulder straps using pairs of curved lines. These straps are what hold the backpack on your shoulders. Next, draw a buckle used to adjust the strap length by placing one pointed teardrop shape within another.
READ MORE: How to Lock a Backpack When Traveling
Step 10: Creating a Water Bottle Holder
Draw a pair of short curved lines across the side of the backpack, and enclose a “U” shape beneath it. To make it look like a mesh water bottle holder, add a cross-hatching pattern – diagonal lines crossing one another at perpendicular angles – within the shape.
Step 11: Adding School Supplies
Now it’s time to add some school supplies to your backpack! Enclose a rectangular shape to form a notebook, with small circles at the top indicating the spiral binding. Use wavy lines across it to represent writing. Next to the notebook, draw a ruler and a pencil by sketching rectangular and pointed shapes, respectively. Use curved lines to outline the bulges of additional school supplies.
Step 12: Finishing Touches – Zipper Teeth and Water Bottle
Add the detail of zipper teeth along the seams by drawing small, straight lines across them. To depict a water bottle in the side pocket, use several curved lines to give it a cylindrical shape.
Step 13: Coloring Your Backpack
Now it’s time to get creative and add colour to your drawing. Backpacks come in various colours, so feel free to choose your favourite or match the official coyour school’s official colours.
Conclusion
If you want to draw a backpack, you must first figure out what kind of backpack you want to remove.
This will help you decide the pack’s size, shape, color, and other details. It would help to get the most important things into the bag when drawing a load. You need to make sure that you have everything that you need.